Singer Sewing Machine 237 Manual: Article Plan
This article details the Singer 237 manual, covering its history, features, setup, operations, troubleshooting, and resources. It explores variations and offers restoration tips.
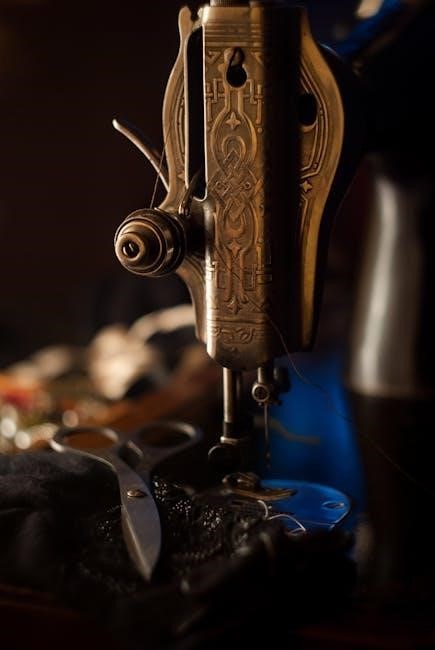
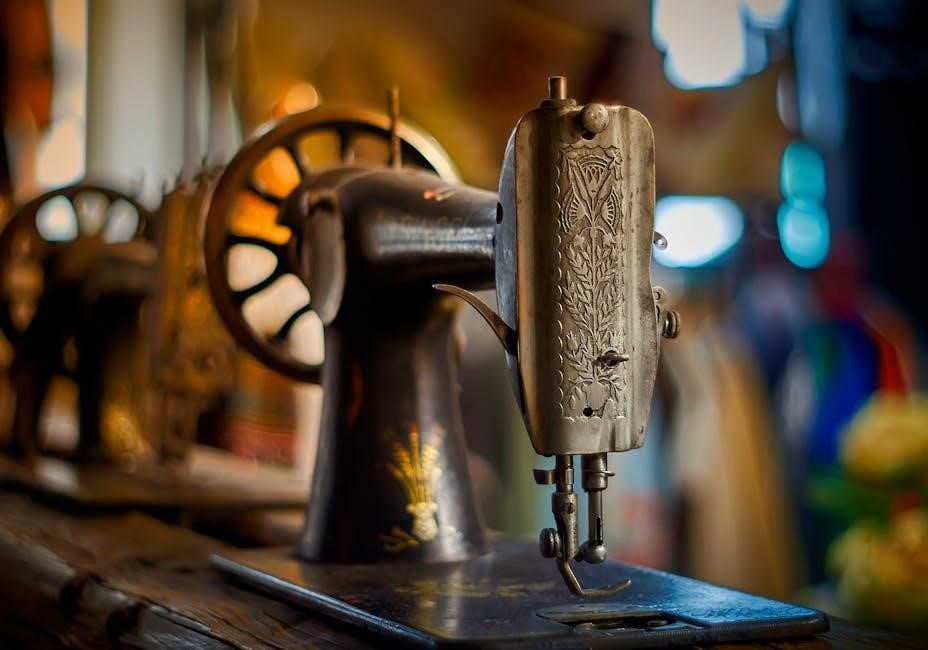
The Singer 237, often called the “Fashion Mate,” represents a pivotal era in home sewing technology. Produced by the renowned Singer Company, this machine gained popularity for its robust construction and reliable performance. Numerous resources, including free online manuals and digital downloads (like those found on Etsy and the Internet Archive), attest to its enduring appeal.
This sewing machine, alongside models 177, 217, 239, 257, and 505, offered accessible sewing solutions. Understanding its manual is key to unlocking its full potential, ensuring years of creative and functional use.
Historical Context of the Singer 237
The Singer 237 emerged during a period of significant growth in home sewing, becoming a staple in many households. Released as part of the “Fashion Mate” series, it built upon Singer’s long-standing reputation for quality and innovation. Dating back to at least 1965 (as evidenced by available user manuals), the 237 offered a blend of affordability and functionality.
Its design reflects the mid-century modern aesthetic, and its widespread availability is documented through archived manuals and online resources. The machine’s enduring presence speaks to its durability and user-friendliness.
Key Features and Specifications
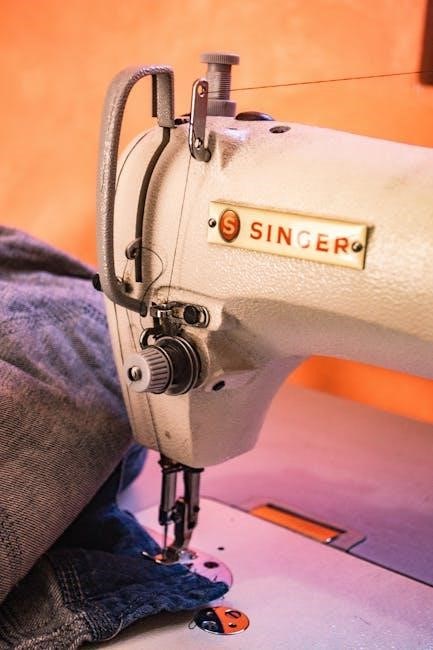
The Singer 237 is a versatile, electromechanical sewing machine known for its robust construction. It features a free-arm design for easier fabric manipulation and a range of stitch options, including straight and zigzag stitches. It’s compatible with a variety of presser feet, enhancing its functionality.
While specific specifications vary slightly between models (177, 217, 239, 257, 505), the 237 generally operates on standard household electricity and offers adjustable stitch length and width.
Mechanical Components Overview
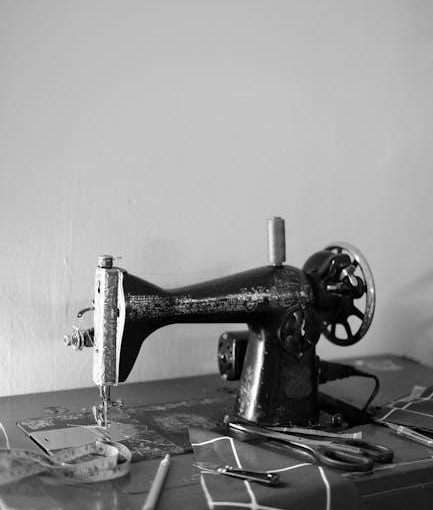
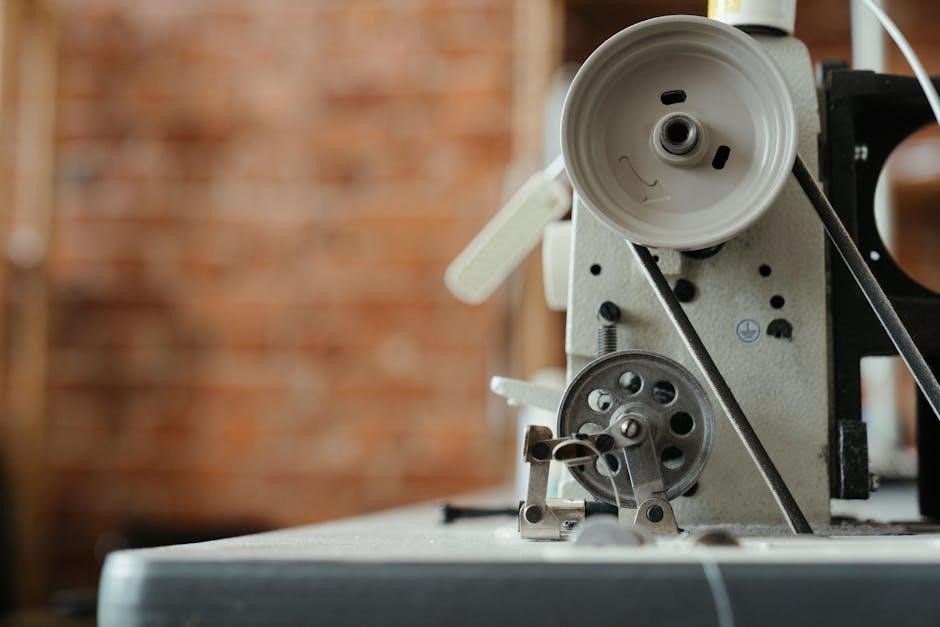
The Singer 237’s mechanical heart comprises a robust motor, a flywheel, and a series of gears and linkages. These components translate motor power into needle motion. The feed dogs advance fabric, while the presser foot maintains consistent pressure. A handwheel allows for manual control, and the bobbin case houses the lower thread.

Understanding these interconnected parts is crucial for maintenance and troubleshooting. Proper alignment and lubrication ensure smooth, reliable operation of this classic sewing machine.
Electrical System Basics
The Singer 237 utilizes a relatively simple electrical system. It features a universal motor capable of operating on standard household current. A foot pedal controls the motor’s speed, acting as a variable resistor. Internal wiring connects the motor to the foot pedal and power source.
Safety is paramount; always disconnect the machine before inspecting or servicing the electrical components. Understanding this basic setup aids in diagnosing motor-related issues.
Setting Up Your Singer 237
Proper setup ensures optimal performance. Begin with a thorough initial inspection and cleaning, removing dust and lint. Next, carefully thread the machine following the diagram in your manual – correct threading is crucial for stitch quality.
Ensure the bobbin is correctly inserted and wound. Finally, select the appropriate needle and presser foot for your fabric. A well-prepared machine guarantees a smoother sewing experience.
Initial Inspection and Cleaning
Before first use, or after storage, a careful initial inspection is vital. Check for any loose parts or damage. Thoroughly clean the machine to remove dust, lint, and old oil. Use a soft brush to access hard-to-reach areas around the bobbin case and feed dogs.
A clean machine operates more smoothly and prevents fabric jams. Inspect the power cord for fraying. Regular cleaning extends the Singer 237’s lifespan and maintains stitch quality.
Threading the Machine
Correct threading is crucial for proper stitch formation. Begin by raising the presser foot. Guide the thread from the spool, through the tension discs, and down to the take-up lever. Ensure the thread is securely seated in each guide.
Next, thread the needle from front to back. Finally, thread the bobbin case following the designated path. Incorrect threading leads to skipped stitches or thread breakage. Refer to the manual’s diagrams for precise guidance.
Basic Sewing Operations
The Singer 237 excels at fundamental sewing tasks. Mastering these operations unlocks the machine’s full potential. Begin with winding the bobbin, ensuring even distribution. Practice straight stitching, adjusting stitch length for varied fabrics.

Explore zigzag stitching for finishing raw edges and creating decorative elements. Consistent pressure on the foot pedal and proper fabric guidance are key to achieving clean, professional results. Refer to the manual for stitch width settings.
Winding the Bobbin
Winding the bobbin on your Singer 237 is a crucial first step. Place the spool of thread on the spool pin. Guide the thread through the tension disc and onto the bobbin. Position the bobbin onto the bobbin winder spindle, ensuring it clicks into place.
Engage the bobbin winder by pushing it to the right. Depress the foot pedal gently to start winding. Stop when the bobbin is full, and the winder automatically disengages.
Straight Stitching Techniques
Mastering straight stitching with your Singer 237 begins with proper threading and bobbin insertion. Select a straight stitch using the stitch selector dial. Adjust the stitch length according to your fabric and desired seam strength – shorter for delicate fabrics, longer for heavier ones;
Place fabric under the presser foot, lower the foot, and gently depress the foot pedal. Guide the fabric smoothly, maintaining a consistent speed for a neat, even seam.
Zigzag Stitching Applications
The Singer 237’s zigzag stitch offers versatility beyond basic seams. Adjust stitch width and length for varied effects. Utilize it for finishing raw edges, preventing fabric fraying, and creating decorative embellishments. Zigzag is ideal for stretch fabrics, allowing seam give without breakage.
Experiment with different settings for applique, decorative stitching, and even free-motion embroidery. Practice on scrap fabric to perfect tension and stitch appearance before applying to your project.
Advanced Sewing Techniques
Mastering the Singer 237 extends beyond basic stitching. Explore creating professional buttonholes using the dedicated buttonhole foot and settings. Learn precise zipper insertion techniques, including centered, overlapped, and invisible zipper applications. These techniques require careful fabric preparation and stitch adjustments.
Further refine skills with techniques like blind hemming and decorative stitching, unlocking the machine’s full creative potential. Practice consistently for optimal results;
Buttonhole Creation
The Singer 237 excels at buttonhole creation, offering a consistent and reliable process. Begin by attaching the buttonhole foot. Select the appropriate buttonhole stitch setting, referencing the manual for guidance based on button size. Carefully position the fabric and lower the presser foot.
Sew slowly, allowing the machine to complete each stitch segment. Trim excess fabric carefully, ensuring a clean finish. Practice on scrap fabric to perfect technique before working on final projects.
Zipper Insertion Guide
Inserting zippers with the Singer 237 requires a zipper foot, crucial for close stitching. Select the appropriate zipper foot and attach it to the machine. Position the zipper face down against the fabric, aligning the zipper teeth. Lower the presser foot and stitch slowly along the zipper tape, maintaining a consistent seam allowance.
Repeat on the opposite side, ensuring even alignment. Practice on scrap fabric to master the technique before tackling garments.
Troubleshooting Common Issues
Addressing problems with your Singer 237 is often straightforward. Thread breakage frequently stems from improper threading or a dull needle – re-thread carefully and replace the needle. Needle breakage indicates incorrect needle size for the fabric or forceful operation; adjust accordingly.
Motor issues might involve a clogged bobbin area or insufficient lubrication. Regularly clean and oil the machine as detailed in the manual to prevent these common malfunctions.
Thread Breakage Problems
Persistent thread breakage on your Singer 237 usually points to a few key culprits. Incorrect threading is a primary cause; meticulously re-thread the upper and lower threads, ensuring proper tension. A dull or damaged needle significantly increases breakage risk – replace it with a new, appropriate size.
Poor thread quality or mismatched thread-to-fabric combinations can also contribute. Finally, check the bobbin winding; uneven winding creates weak spots prone to snapping.
Needle Breakage Solutions
Frequent needle breakage with your Singer 237 demands immediate attention. First, verify you’re using the correct needle type and size for your fabric weight. Attempting to sew through thick materials with a fine needle is a common error. Ensure the needle is fully inserted and correctly positioned within the machine.
Avoid forcing the fabric; let the machine feed it naturally. A bent or damaged needle should always be replaced. Finally, confirm proper timing of the needle and hook assembly.
Motor Issues and Fixes
If your Singer 237’s motor isn’t running, begin by checking the power cord and ensuring it’s securely connected. Inspect the motor brushes for wear; worn brushes often cause intermittent operation or complete failure. A faulty foot controller is another potential culprit – test with a known working one.
Internal motor issues may require professional servicing. Never attempt repairs if you lack electrical experience; safety is paramount. Lubrication can sometimes resolve minor motor sluggishness.
Maintenance and Care
Regular maintenance extends the Singer 237’s lifespan. After each use, brush away lint from the bobbin area and feed dogs. Periodically clean the exterior with a soft cloth. Avoid using abrasive cleaners. Proper lubrication is crucial; apply sewing machine oil to designated points as outlined in the manual.
Inspect the belt for wear and replace if necessary. A well-maintained machine ensures smooth, reliable operation and prevents costly repairs. Consistent care preserves its enduring quality.
Regular Cleaning Procedures
Consistent cleaning is vital for the Singer 237’s performance. Begin by disconnecting the power. Use a brush to remove lint from the bobbin case, shuttle race, and feed dog area after each sewing session. A small vacuum cleaner attachment can assist. Wipe down the exterior surfaces with a slightly dampened cloth—avoid harsh chemicals.
Pay attention to oil buildup, as it attracts dust. Thorough cleaning prevents jams and ensures smooth operation, preserving the machine’s longevity and sewing quality.
Lubrication Guide
Proper lubrication maintains the Singer 237’s smooth operation. Use sewing machine oil specifically designed for this purpose. Oil key points: the bobbin case pivot, shuttle race, presser bar, and all moving parts accessible from the exterior. Apply sparingly – excess oil attracts dust.
Refer to the manual’s diagrams for precise lubrication points. Regular oiling, typically every six months with moderate use, prevents wear and tear, ensuring consistent stitch quality and extending the machine’s lifespan.
Understanding the Manual
The Singer 237 manual is crucial for operation and maintenance. It features detailed diagrams illustrating machine parts and their functions. Stitch settings are explained, allowing users to achieve desired results. Deciphering these illustrations and settings unlocks the machine’s full potential.
Pay close attention to numbered parts lists and troubleshooting sections. The manual provides a foundation for repairs and ensures safe, effective use of this classic sewing machine, extending its longevity.
Decoding Diagrams and Illustrations

The Singer 237 manual utilizes detailed diagrams to showcase internal components and assembly. These illustrations are numbered, corresponding to parts lists for easy identification. Understanding these visuals is key to disassembly, repair, and proper reassembly.
Pay attention to exploded views, which reveal the order of parts. Illustrations also demonstrate threading paths and stitch formation. Careful study of these diagrams empowers users to confidently maintain and troubleshoot their Singer 237.
Interpreting Stitch Settings
The Singer 237 manual explains stitch settings crucial for achieving desired results. Dial positions control stitch length and width, impacting fabric appearance and seam strength. Understanding these settings allows for customization, from delicate fabrics to heavier materials.
The manual details zigzag stitch variations for decorative and functional purposes. Proper settings prevent puckering or thread breakage. Experimentation, guided by the manual, unlocks the machine’s full potential for diverse sewing projects.
Available Resources and Downloads
Numerous resources support Singer 237 owners. The Internet Archive offers free downloads of both service and user manuals for models 177, 217, 237, 239, 257, and 505. Etsy provides digital instructional manuals for purchase, offering convenient access to guidance.
These resources include detailed diagrams and troubleshooting tips. Online communities and forums also provide valuable support and shared knowledge for maintaining and repairing this classic sewing machine.
Free Online Manuals

The Internet Archive is a treasure trove for Singer 237 owners seeking free manuals. Both service and user manuals are readily available for download, borrow, or streaming. These encompass not only the 237 model but also related machines like the 177, 217, 239, 257, and 505.
These digitized manuals, often dating back to 1965, provide comprehensive instructions and diagrams, offering a cost-effective way to learn about your machine.
Digital Instructional Manuals (Etsy)
Etsy provides a marketplace for digital instructional manuals specifically for the Singer Fashion Mate 237 sewing machine, and compatible models like 177, 217, 239, 257, and 505. Sellers like PDfmanualsdownload and SecondLyfeStore offer downloadable PDF versions of these manuals.
These digital copies offer convenient access to instructions, often at a reasonable price, eliminating the need for physical storage and potential damage to original documents.
Singer 237 Variations and Model Numbers
The Singer 237 shares significant similarities with other models in the Singer Fashion Mate series, including the 177, 217, 239, 257, and 505. Many manuals are interchangeable between these machines due to their closely related mechanical designs and operational principles.
Understanding these relationships is crucial when sourcing parts or troubleshooting, as components may be compatible across multiple model numbers within this series.
Relationship to Models 177, 217, 239, 257, and 505
The Singer 237’s core mechanics are largely consistent across the 177, 217, 239, 257, and 505 models. This allows for substantial parts interchangeability, simplifying repairs and maintenance. User manuals often cover multiple models, recognizing these shared features.
While cosmetic differences and minor feature variations exist, the fundamental sewing operations and internal components remain remarkably similar, making knowledge applicable across the entire series.
Parts and Accessories
Sourcing replacement parts for the Singer 237 is often achievable due to its popularity and the shared components with related models. Online marketplaces and dedicated sewing machine parts retailers are key resources.
Compatible presser feet expand the machine’s functionality, offering options for zippers, buttonholes, and decorative stitching. Original accessories, while sometimes available, can be costly; reproduction parts provide viable alternatives. Maintaining a parts list aids future repairs.
Finding Replacement Parts
Locating Singer 237 replacement parts requires exploring several avenues. Online auction sites, like eBay, frequently list original components. Specialized sewing machine parts retailers, both online and brick-and-mortar, offer new-old-stock and reproduction parts;
Identifying the correct part number, often found in the service manual, is crucial. Cross-referencing with compatible models (177, 217, 239, 257, 505) can broaden search results. Patience and diligent searching are often necessary.
Compatible Presser Feet
The Singer 237 utilizes a “low shank” system, opening access to a wide range of compatible presser feet. Standard feet include the all-purpose, zipper, buttonhole, and rolled hem feet. Many universal low shank attachments are available, expanding functionality.
Vintage and modern options exist; sourcing from sewing machine parts dealers or online marketplaces is common. Ensuring proper fit and secure attachment is vital for optimal sewing performance and stitch quality. Explore specialized feet for decorative stitching too!
Safety Precautions
Always disconnect the power supply before performing any maintenance or changing the needle on your Singer 237. Never sew over pins or thick fabric layers, as this can damage the machine or cause injury. Keep fingers away from the needle while operating.
Ensure the machine is stable and on a level surface. Avoid using damaged cords or plugs. Supervise children when near the sewing machine. Regular inspection for wear and tear is crucial for safe operation.
Singer 237 vs. Modern Sewing Machines
The Singer 237, a mechanical marvel, contrasts sharply with today’s computerized machines. While lacking automated features like pre-programmed stitches, it excels in durability and simplicity. Modern machines offer speed and versatility, but the 237’s robust build often surpasses them in longevity.
The 237 requires more manual skill, fostering a deeper understanding of sewing mechanics. Modern machines prioritize convenience, while the 237 champions a tactile, hands-on experience.
Restoration and Repair Tips
Restoring a Singer 237 involves careful cleaning and lubrication. Dried grease should be removed with mineral spirits, followed by fresh sewing machine oil. Inspect belts for wear and replace if necessary; Addressing rust requires gentle abrasion and protective coating.
Finding replacement parts can be challenging, but online resources and sewing machine repair shops offer solutions. Patience and a methodical approach are key to breathing new life into this classic machine.
Where to Find Support and Community
Numerous online communities cater to Singer 237 enthusiasts. Forums and social media groups provide platforms for sharing knowledge, troubleshooting issues, and sourcing parts. The Internet Archive hosts free downloadable manuals and resources, aiding restoration efforts.
Etsy offers digital instructional manuals for purchase. Local sewing machine repair shops can provide expert assistance and maintenance. Connecting with fellow owners fosters a collaborative learning environment.
The Singer 237 remains a testament to durable design and reliable performance. Despite its age, readily available manuals and a supportive community ensure its continued usability. Its robust mechanical construction and straightforward operation appeal to both beginners and experienced sewists.
The 237’s longevity speaks volumes about Singer’s engineering. It’s a machine that continues to inspire creativity and stands as a classic in sewing history.